
Framingham Wood Flooring handles hardwood floor staining in Framingham, MA, serving surrounding cities including Cochituate, Marlborough, Hopkinton, Wellesley and Maynard. With more than 20 years sanding and finishing wood floors, we change floor color the reliable way: sanded to bare wood, tested with stain samples on your own boards in your own light, and finished so the color stays even from wall to wall.
Stain is where refinishing becomes personal. Some owners want the orange out of their oak, others want a darker, richer floor, and many now ask for natural, light or gray tones that were rare twenty years ago. Each of those goals is achievable, but the result depends on the species, the condition of the wood and the care taken in sanding before a drop of stain goes down.
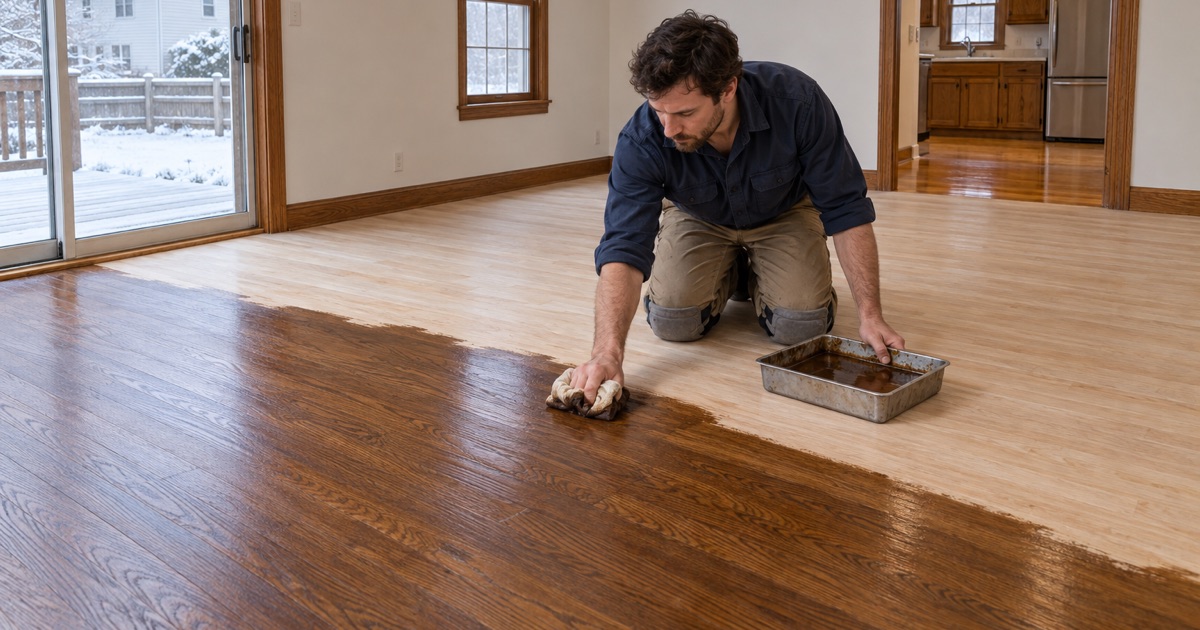
We never pick a color from a brochure. Floors in the same house can take stain differently from room to room, and the only reliable way to see the result is to test it on the floor itself. We put several samples down, you choose in daylight, and then the whole floor is stained to match.
How Wood Species Takes Stain
Red Oak
Red oak is the most common floor in houses built from the 1950s through the 1970s, and it takes stain evenly thanks to its open grain. It has a natural pink or reddish undertone that shows through lighter stains, which is worth knowing if you want a cool or gray floor. Medium browns and darker tones generally look rich and consistent on red oak, and it is the most forgiving species to stain well.
White Oak
White oak has a cooler, more olive tone and tighter pores than red oak. It suits natural finishes, light stains and gray or smoked looks especially well, which is why it is the favorite for modern floors. White oak also reacts well to water popping, which helps deeper stains absorb evenly. Rift and quartersawn white oak shows straighter grain and takes stain more uniformly across the board.
Maple and Pine
Maple is hard and tight-grained, and it resists stain unevenly, often blotching with darker colors. Most maple floors look best natural or with a light tone, and darker colors need careful preparation. Eastern white pine is soft and absorbs stain unevenly too, and it can blotch badly without conditioning. For both, we test on a section of the floor before recommending any color.
Popular Stain Directions
Taking Orange Oak to a Natural Tone
The orange color in many older oak floors comes from oil-based finishes that ambered over decades. Sanding removes that finish, and a clear waterborne polyurethane keeps the oak close to its raw color without the yellow cast. For red oak, a small amount of neutral or brown stain can calm the pink undertone. This is one of the most common reasons owners call us for a color change.
Dark Browns and Espresso Floors
Dark stains make a dramatic floor, especially with light walls and trim. They also show dust, pet hair and scratches more readily, particularly near sunny windows and doorways. We usually recommend a satin or matte sheen with dark colors and test the depth on your floor so you know how dark the finished floor will actually look.
Light, Gray and Modern Tones
Gray, greige and light natural tones are popular in renovated and newer homes. They work best on white oak, and on red oak they need careful color selection to avoid a pink or green cast. We mix and test combinations on your floor so you see how the undertones behave before committing the whole room.
Getting Even Color
Sanding and the Grit Sequence
Even stain color starts with even sanding. Scratches from a coarse grit, edger swirls along the walls and uneven transitions between machines all show up once stain is applied. We sand through a full grit sequence and blend the edges with an orbital sander or buffer so the stain has a uniform surface to absorb into.
Water Popping
Water popping means lightly wetting the sanded floor to raise the grain before staining. The raised fibers absorb more stain, giving deeper and more even color. It is especially useful on white oak and for darker colors, and we decide whether to use it after seeing your test samples.
Stain Samples in Your Own Light
We apply several stain samples directly to your floor, usually near a window and in a darker area, so you can see them in real light. Colors can look different in morning and evening, and on different species in the same house. Once you choose, we stain the whole floor to match the approved sample.
Fixing Stain That Went Wrong
Blotchy or Streaked Color
Blotchy color usually comes from a species that resists stain, such as maple or pine, or from uneven sanding that left some areas smoother than others. Streaks and lap marks come from stain that dried before it was wiped evenly. Once a floor is finished over a bad stain job, the only reliable fix is to sand back to bare wood and start again, with the preparation the first attempt skipped.
Rooms That No Longer Match
When one room is refinished and the next is not, or when new boards are added to an old floor, the colors often drift apart. We sand the connected areas together where we can, and blend the stain mix across the transition so the change from one room to the next is gradual rather than a line at the doorway.
Finishing Over Stain
Choosing a Topcoat
After the stain dries, we apply a protective finish. Waterborne polyurethane keeps the color true, oil-modified polyurethane warms it, and hardwax oil gives a softer, low-sheen look. Every product we use is chosen to meet the Massachusetts limits for clear wood coatings.
Sheen and Color Together
Sheen affects how color looks. Matte and satin finishes make stains look softer and hide wear, while higher gloss deepens color but shows every scratch. We show you samples with the topcoat applied, not just the stain, so you choose the combination you will actually live with.
- 20+ Years on Wood Floors
- Free Written Estimates
- Lead-Safe Work Practices